
For the Luther MOOC, we did something we haven’t done for a MOOC before: we built a set!
This set was comprised of five 4×8 white panels and two 2×8 white panels, called Hollywood flats. We found resources online and from area professionals about how to build the Hollywood flats. I built a 3D model in Trimble SketchUp, so we could determine the angle and placement in the room.
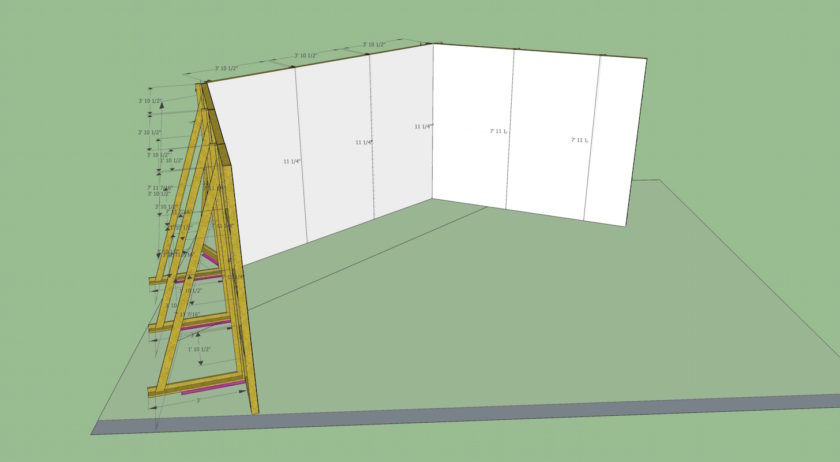
Model designed in Trimble Sketchup allowed us to determine how much wood to buy, and visualize how it would all look constructed.
The flats we built from lumber purchased at Home Depot, and cut all the lumber in 640 Lincoln. We then assembled the flats and stage jacks. Stage jacks are screwed to the flats and are used to keep the flats upright and from falling over.
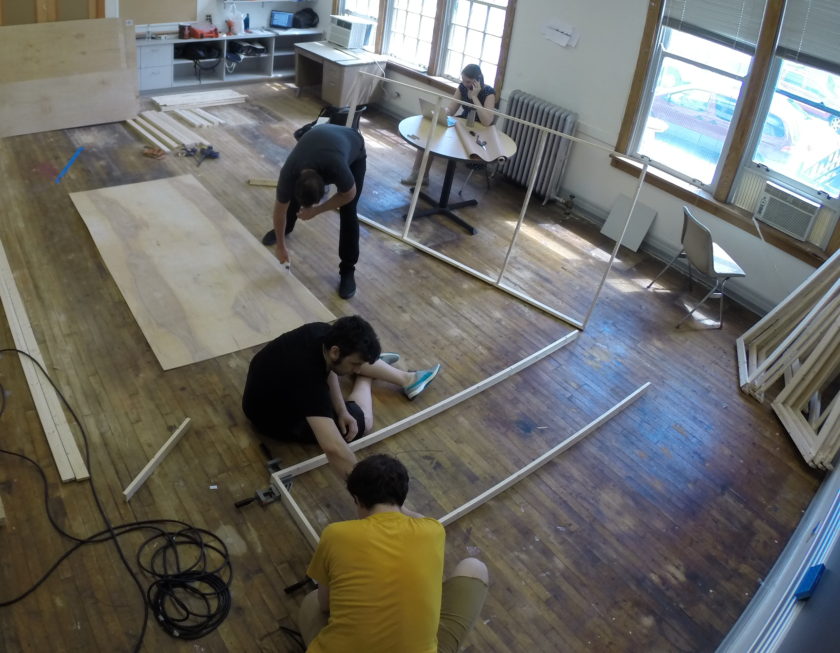
Nate and John construct frames for the flats while Aaron adds wood glue to the sheets of underlayment plywood.
After the flats were screwed and stapled together, we painted them white with a paint roller.
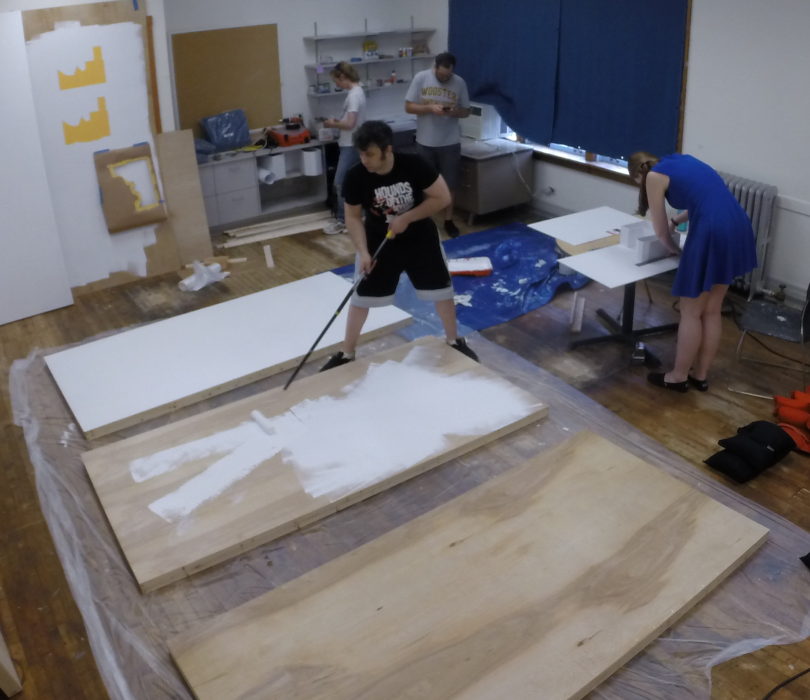
John paints the flats white with a roller.
We then arranged them in a C shape in the classroom, attached the stage jacks and put sandbags on the jacks to keep the set upright.
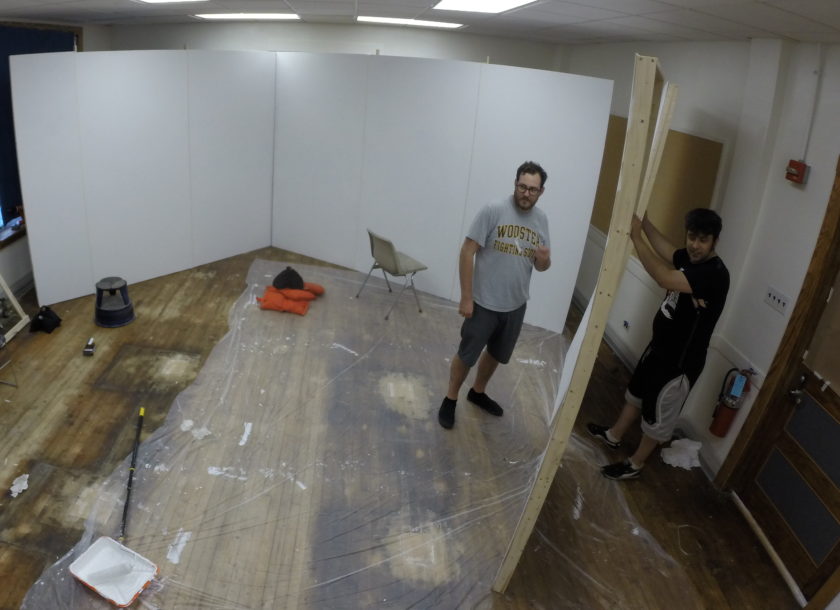
Aaron and John stage the flats in preparation for adding the stage jacks to support the whole set.
We taped over the gaps between flats, and then overlaid a 24 foot long stencil of a timeline over the flats, and painted a colorful timeline onto the white wall.
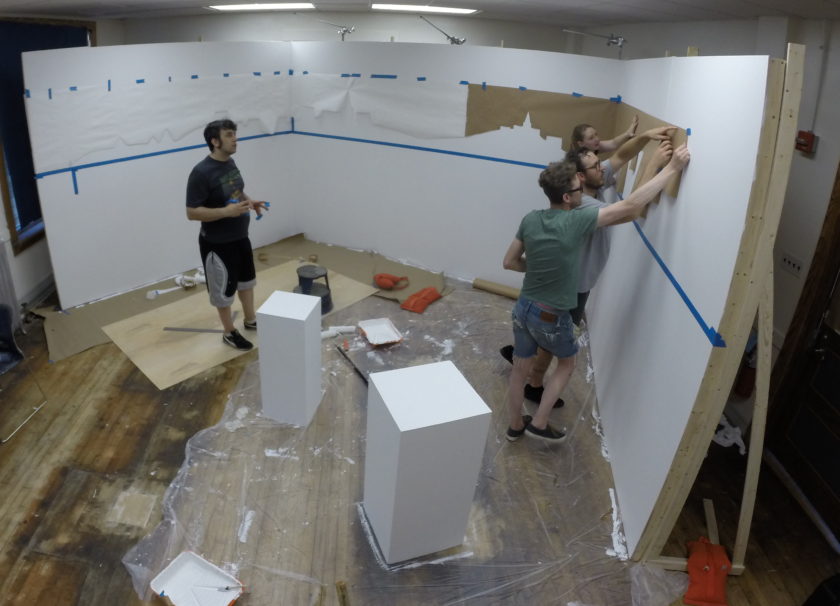
Laura, Aaron, and Justin hold up the paper timeline stencil while John readies blue tape strips.
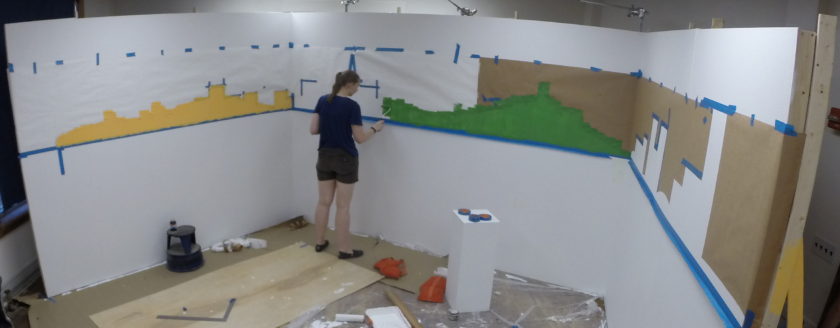
Laura paints over the stencil to make the final timeline image.
We added black sticker text to the timeline for various relevant events to the content of the course, Luther and the West.
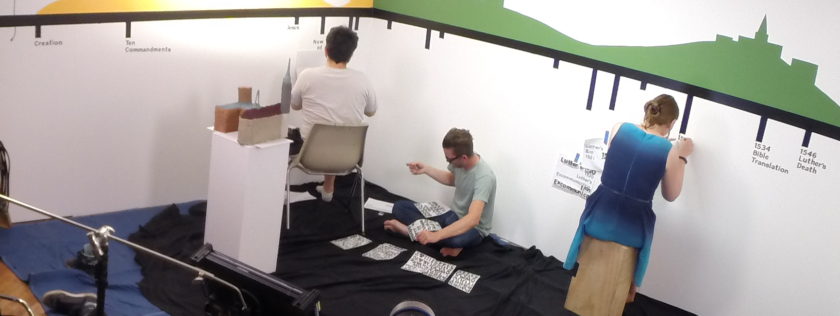
Laura and John place letters one by one on the wall, while Justin preps each phrase by assembling them from sheets of individual letters.
We had never built a set prior to this, so we learned so much! We look forward to our next opportunity to build a set!